HOW TO REMOVE STOCK FLOORBOARD
Credit for this goes to bash3r. It is a cut and paste of the original TR post in order to try and retain the old technical content. If anyone knows bash3r, tell this Rucker to come and claim their post!
Here is how I removed the stock floorboard plastics from my '09 Ruckus.
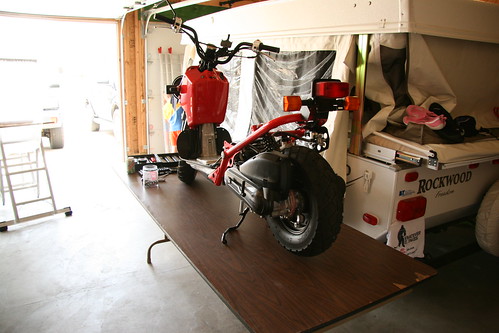
Place ruck on something to easily work on it, remove the seat frame, and chassis/gast tank plastics. The 4 bolts on the rear plastics can be used to hold the tank on once your footstep is off:
Remove the gas tank. I had to siphon the gas out of my tank since it was full. Then disconnect the fuel line under the tank. Disconnect the low fuel plug from the wiring on the right of the BB. Pull the tank out and set it aside:

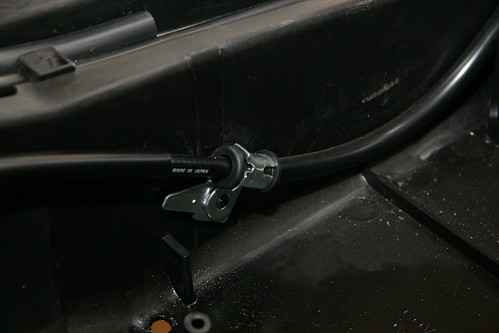
Next remove the bolt holding the break line to the bottom plastics. I had to hold the bracket with pliers to loosen up the bolt.

Open the little plastic flap to reveal this connector near the fuel filter, then unplug it.

Pull all the cable/hoses out of the raceways out, the brake cable side I pulled out over the side and the electrical side move inside. At the front of the lower plastic, pull the tab down and push it up through the frame. This will start to free the plastics up to slide it out around the cables.
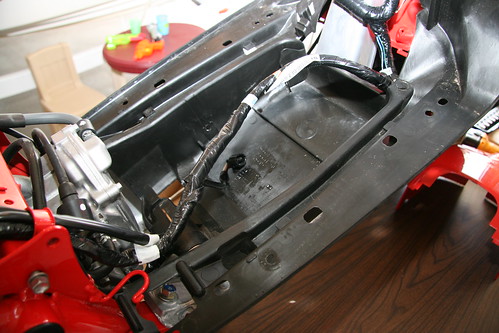

Now you can put the wiring and cables back in the frame raceways, plug the connector at fuel filter, place the gas tank back in and connect the fuel line. I installed 1" wire loom to cover the exposed cables/wires. For now I used the short bolts from the rear plastics to bolt the gas tank down.
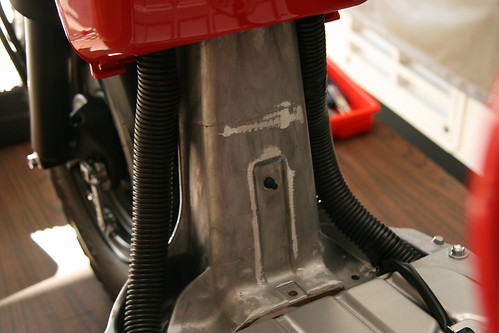
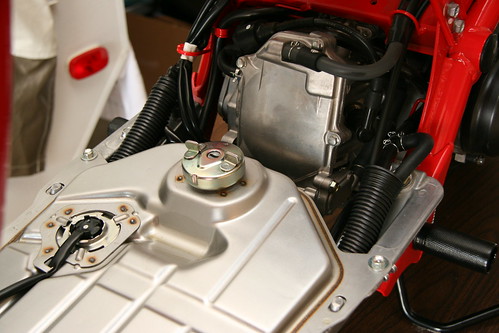
As you can see the fuel line is pretty exposed with out the plastics, other TR members said they trim the outer plastics and leave the bottom piece installed to protect the gas tank. I think I’m going to do this next!
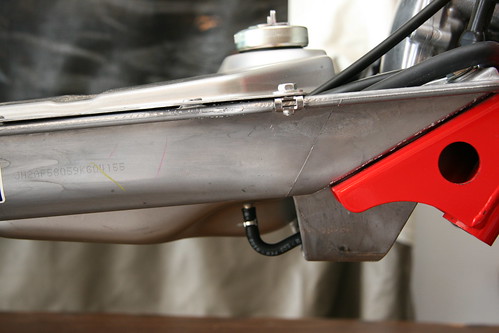
Also, I’m sure you can re-route some of the hoses/cables/wiring to clean it up a bit. Just one more step closer to a sweet ride. Now its ready for frame/gas tank polish, frame brace, extension kit, lower seat frame, and a ton of other mods!!
